How to create a Media Kit in Few easy steps!
How to Create a Media Kit
What is a media kit? A media kit is a document showing all of your blogging information and stats to potential sponsors, it also shows them that you know what you’re doing. If you are a blogger or influencer and wanting to work with brands, you will need to put together a media kit to help showcase all the information they need to know about working with you. What goes in a media kit? A media kit is an opportunity to show off the best of your blog or social media account. You want to showcase:
Your personality and style.
Your statistics.
Examples of your content.
What makes your blog/social media account unique.
Past Collaborations (if relevant)
Your rates
Your contact details.
How to Create a Media Kit in 7 Easy Steps:
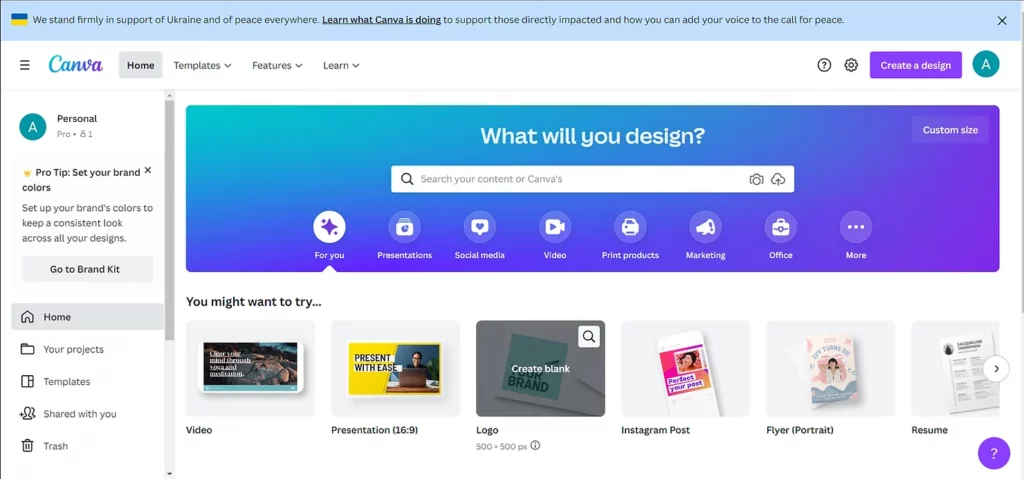
1) Use a program that allows you to create a beautiful document. My personal favourite is Canva ( https://www.canva.com/ ) as it allows you to choose your template and easily add text or photo blocks.

TOP TIP – As a rule in marketing you shouldn’t use more than two different fonts in one document, as it makes it look too busy. So choose which two fonts you would like to use.
1- Don’t just write – that is boring! Make sure you include the most beautiful photos from your blog or social media account. You can then update these when you have photos with specific brands you have worked with. Canva makes it easy to add photos, and you can also add in colourful blocks.
2- Introduce yourself and your platform The first page of your media kit should be an introduction to yourself and your platform (whether that’s your social media account or blog). This might be similar to the bio blurb you use on your blog or social media. Talk about yourself and your media outlets. Share your background (do you have any specific talents?), your passions, and how this ties in to your platform.
3- Statistics and reach Bring to light your statistics, so you can show how relevant your following is to each brand. Make sure you include:
Followers / Subscribers
Demographic (age, location, gender).
Engagement.
For Instagram show your average likes, comments and story views.
For blogs show your average views and unique visitors per month.
These numbers are a great way to make your media kit more aesthetically pleasing – use graphs or large numbers to showcase your statistics (you can add graphs in Canva!). Have a look at my Media Kit Template to give you an idea of how to display your statistics. You’ll need to make sure that you update these stats each time your send your media kit out. But what if I’m a beginner blogger/influencer? If you don’t have lots of impressive numbers to show off yet, include your growth trends. For example, “My instagram account has grown by 800% in two weeks and I have an engagement rate of 10%”.
4- Sponsorship policies This is the “terms” of your sponsorship, and it includes your prices, and the different packages you offer. You want to show prospective sponsors what they’ll be getting out of the deal. On social media you can offer sponsored posts either with content you create for them (and then you can offer them stock images too) or just mentioning them in captions. You can also offer collaborations to promote them via your stories. On blogs you might do ads (what are your sizes and prices) or product reviews. Make sure you outline any payment policies, such as if payment is required within a certain time frame.
5- Past collaborations Show logos from past collaborations. You can also use this space to include testimonials from brands you have worked with. Obviously if you’re a beginner blogger/influencer you can leave this part out and add it in at a later date 😉
6- Call to action Summarise your media kit with a call to action – what is the next step? How should they get in touch with you? You can write something like: ‘To begin sponsorship with [your blog/social media account name], please contact [name of contact] at [email address].
7- Export Once you have all the content finalized (both image and text), make sure you proofread the whole document. You might even want to get a friend to proofread it too. Nothing says unprofessional more than multiple spelling mistakes. You should then export the document as a PDF (you can do this in Canva). Hey presto! You have your media kit ready to send out to potential sponsors!
Are you ready to jump blind into the unknown with me? That’s gonna be super exciting, promise you!
Like this post? Pin it to save for later!
